CCTV VIDEO WALLS
Choose what goes on each screen.
Bring live cameras, maps, incident queues and site instructions together in the combination your team needs. Give the wall, the operator and the supervisor the views they need.
- Live cameras and maps across your sites.
- Separate queues for different priorities.
- One monitor or several viewing positions.
- Add screens without extra video-wall licence fees.
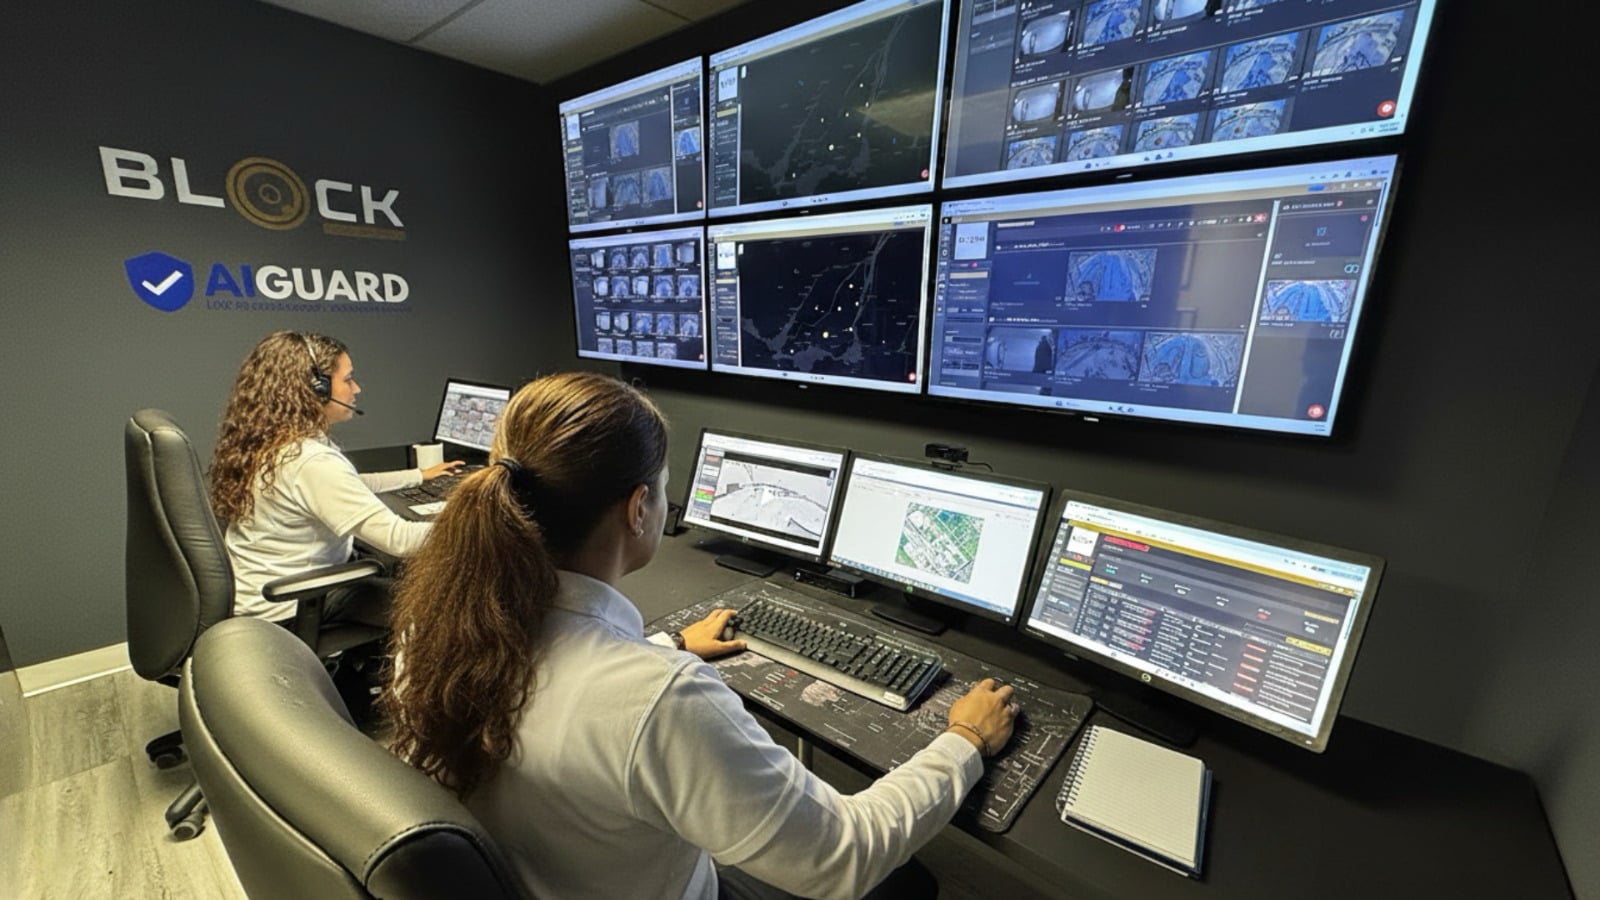
Every screen has a job
Keep the wider view on the wall and work the incident at the desk. Arrange live views, maps, event lists and site instructions on one monitor or across several.




Example browser workspace. Each pane is a separate view you can arrange across windows and screens.
Keep priority cameras visible
Save shared presets and organise them in groups. Keep a priority camera in the same tile across your cycling presets. It stays live while the other cameras change.
Keep the site context beside it
See alerts and offline devices on the map. Keep a site live preview and site instructions beside the incoming events, then open related cameras live or recorded.
Give every queue a purpose
Keep all incoming events in one view, verified alarms in another and recently closed events ready for handover. Each table updates in real time.
Arrange it once. Use it every shift.
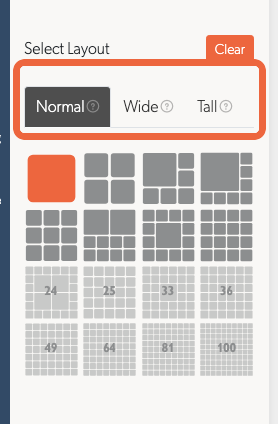
Choose a layout, click a camera name to pick its feed, and drag the grip to swap two cameras. Clear empties the tiles while keeping the layout. Save, duplicate and group presets to give the team a familiar arrangement.
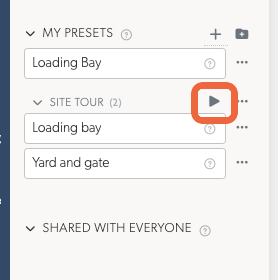
Set a default view for opening Live View. Press 1 to 9 to recall the first nine presets, or play a group to cycle its views. Choose a tour pace of 5, 10, 15 or 30 seconds, or 1 or 5 minutes.
Investigate while the live view stays in sight
Right-click a wall camera to open its Events. Keep the live overview in another browser window while you review the footage, or use Chrome Split view to place two pages beside each other.
Open site notes directly from Live View. Keep a real-time map in another window for location, alert and offline-device context. Keep location, footage and instructions together as you work through the incident.
Check that the picture is current: camera connection status, picture timestamps and colour-coded stream delay show when a feed falls behind. Red warnings flag frozen or down feeds.
Explore control-room monitoringAccess that fits the viewing position
Give a reception screen live access while reserving recorded-event access for investigators. Use account permissions and permitted IP addresses to control where and how the wall is viewed.
A dedicated viewing account lets an administrator revoke that screen's access without changing another operator's account.
From watching to taking action
Give authorised operators the detail and controls they need. Talkdown, PTZ and outputs depend on the connected equipment.
Take a closer look
Expand a camera to fullscreen, zoom digitally or save a snapshot. Picture in Picture keeps a camera visible while you work elsewhere.
Choose quality camera by camera
Use Auto, Primary (HQ), Secondary (LQ) or 1fps Preview. Fit shows the whole frame; Fill crops the edges to fill its tile.
Address the person on site
Use supported speakers for live talkdown or send a prepared announcement. Mute individual camera tiles to manage incoming audio.
Move the camera or its equipment
Use PTZ and stored camera positions where supported. Available outputs can operate connected relays, lights and wipers.
Comfortable viewing, day or night
Switch seamlessly between light and dark modes to suit the room, for comfortable viewing through day and night shifts.
Let another system choose the view
The published TetherX API lets a third-party system switch a saved wall preset. An external schedule or an integrated workflow can bring the relevant camera arrangement onto the viewing account's connected browsers.
Remote browser refresh is also available to authorised administrators. Agree which viewing accounts and screens should change together when planning the integration.
Discuss your integrationUse the screens and detail your team needs
Spread views across monitors and browser windows. Choose per-camera stream quality or Preview for a broad overview, and use a larger view when detail matters. Local viewing can stream directly from the TetherBox on the same network.
The selector includes layouts up to 100 tiles; larger layouts can be added. Spread views across windows and size the simultaneous streams for the computer, camera quality, network and viewing distance.
For unattended viewing, configure the relevant sources with No limit to disable the optional inactivity cut-off.
Add screens without extra wall licences
No per-screen or per-GPU video-wall fee, and no licensed display-count cap. Normal platform, camera, optional-service and hardware costs still apply.










Plan the wall around your operation
Bring your cameras and viewing requirements
Tell us which sites, screens and workflows you want to bring together. We can demonstrate the views and help your team plan the setup.
Plan the views, permissions and equipment for your team.
